

My kitchen is so dark and this will brighten it up immensely. Plus, I like the idea of a bright green because, really, you can use any other color as an accent color with it--blue, green, red, orange, or yellow! It's like flowers, they all go with green!
However, before I can get my beautiful new curtains up, I have to undertake the task of mounting the curtain rod. Ugh. I have put up my fair share of curtain rods over the years, and I can tell you, they used to fill me with dread. They always ended up crooked, or not high or wide enough, and if you put them up with drywall anchors, absolutely impossible to adjust without having to make extensive drywall repairs. Such a pain! However, my experience has served me well, and I have finally figured out the trick to getting these things up with relatively little hassle and getting them to look right the first time!
You will need: a curtain rod at least 12 inches longer than the window you will be mounting it over (remember that the measurements they give you on the box is for the rod only--it does not include the size of the finials on the end), a measuring tape, a carpenter's level, a drill with a 1/8 and 3/16 bits and a screwdriver head, a hammer, and a pencil.
When buying a curtain rod, you should consider several factors. First: the size of the window and the style of treatment you want to put up. Obviously, you want a rod that will be long enough to cover the whole window, but if you will be opening and closing your curtains, you will want enough length to go an extra 6-12 inches on either side of the window. That means you might want to have a rod up to two feet longer than your window width, maybe more if you've got a very big window and have drapes that will go the whole way across. If you want to just hang some sheers over the window that won't be opened and closed, obviously you don't need to go out that far, maybe only extending an extra 2 to 4 inches past the opening, depending on whether it's trimmed or not.
Also, don't forget to take the thickness of the rod into consideration. Heavier fabrics require a thicker rod, at least one and a half inches. And if you have a really big window, you might want to get a thicker rod just because it looks better proportionately. By the way, if you want to save some money on a decent rod, don't forget to check out discount stores like TJ Maxx, Home Goods and Ross. You can save at least 50% there over home stores. I have also found good deals at craft stores like Hobby Lobby and Joann's, which often have great sales, or have 40-50% off coupons available through the mail or their websites.
Mounting the rod
Most curtain rods are constructed the same way: they have a two-piece rod, one side larger than the other so the other can slide in and out to adjust the width, with two finials that screw on the ends. The brackets usually have two keyhole shaped holes for the screws, also to allow for adjusting the height of the bracket. If you learn how to work with the adjustability of the equipment, you can fix most of your mounting mistakes.
First, completely disregard the instructions that come with the rod. If you do as they say, which is always, "Using the brackets, mark the location of the screw holes on the wall, drill all the holes at once, put in all the drywall anchors, and hope that you miraculously got all the measurements exactly perfect and level", your mounting adventure will most likely end in disaster. Here are my tricks to getting it right:
Start by carefully measuring the distance from the corner of the window to where you want to install the first bracket. I like to keep it square, i.e. ten inches out means ten inches up. However, in some cases you might want to install your curtains up closer to the ceiling to make your ceilings appear taller. In this case, I recommend measuring about four inches down from the ceiling to allow for enough space for the finials, etc. Measure to the side and make a mark with a pencil, then measure up and make a mark, then use a level to lightly draw a line up from the side mark and to the side from the up mark (does that make sense?) until the cross paths and make a lovely little square.(Don't worry about drawing on the wall. You can erase it easily, and clean up any extra marks with a magic eraser or a little bit of baking soda on a wet washcloth.)


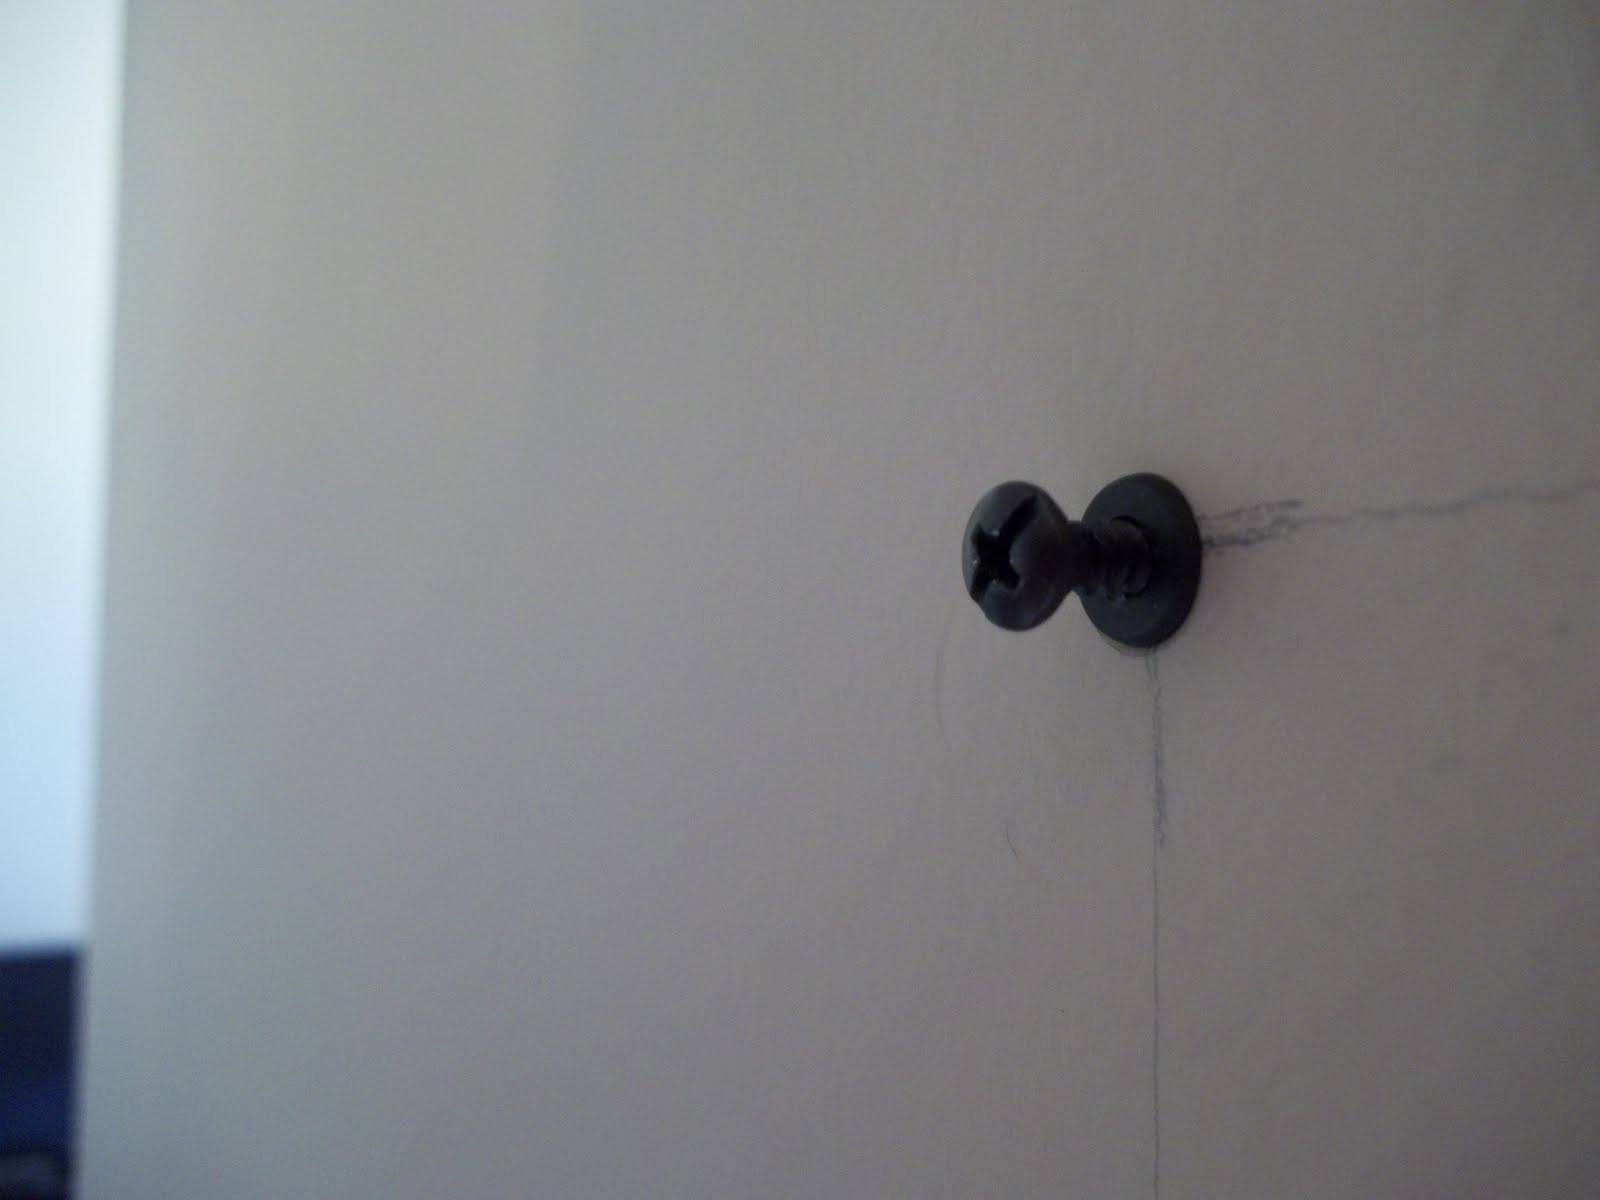

Slip the top hole of the bracket over the head of the screw, pulling it down so that the screw is resting in the narrower part of the hole. Use your level vertically to make sure the bracket isn't crooked. Mark the wall where the upper, narrower part of the bottom screwhole is. Remove the bracket and drill the hole where you marked. Install the anchor and screw. Slip the bracket back over both screws. Use your level again to check that it's not crooked, and tighten the screws with a manual screwdriver, adjusting as needed to make sure it's even.
Ta-da! Now, that wasn't so hard, was it?

Now you need to get the rest of the brackets up, but you need to use the rod itself to help you make sure they are installed levelly. If you have a middle bracket for the rod, install it next. There's a tendency to want to install both sides first, but it's a lot easier to keep it level if you work your way from one side to the other. For a middle bracket, find the center point of the window and measure up the same distance as the other bracket and mark it with your pencil. For another side bracket, follow the same measuring instructions as given before. Remember, these marks serve only as a guide, they are not exact.
BEFORE YOU DRILL, loosen the little screws that hold the rod into place on all your brackets enough that you can rest the rod in them without scratching it. Place one end of the rod in the previously installed bracket and the other end in the uninstalled bracket that you are holding in your hand. Put the bracket up on the wall and hold it in place on your guide marks. Use a level on the rod to check that it's level (mine has a nice magnet on the side so that it will just stick to the rod without my having to hold it). Adjust the height of the bracket up or down until the rod is level, then mark the upper hole as previously described. Remove the bracket and rod and install the bracket, drilling only one hole at a time, and adjusting as necessary before tightening the screws.
NOTE: The rod often tends to sag at the point where the smaller side goes inside the larger side, so you often have to install the bracket on the smaller side of the rod a smidgen higher to get it level. If you have a middle bracket, it will be even with the bracket on the larger side of the rod, and the bracket on the smaller side will probably have to be a little higher. Don't be afraid to take the rod apart and use only half at a time to get your measurements.
Here is your end result! A perfectly straight and level curtain rod and no extra holes in the wall! (Ignore the pajama-clad children) Actual curtains coming soon!

cool. good tips. I can never get anything straight. I always have to have Aaron do it. Now maybe I'll be willing to give it a try!
ReplyDelete